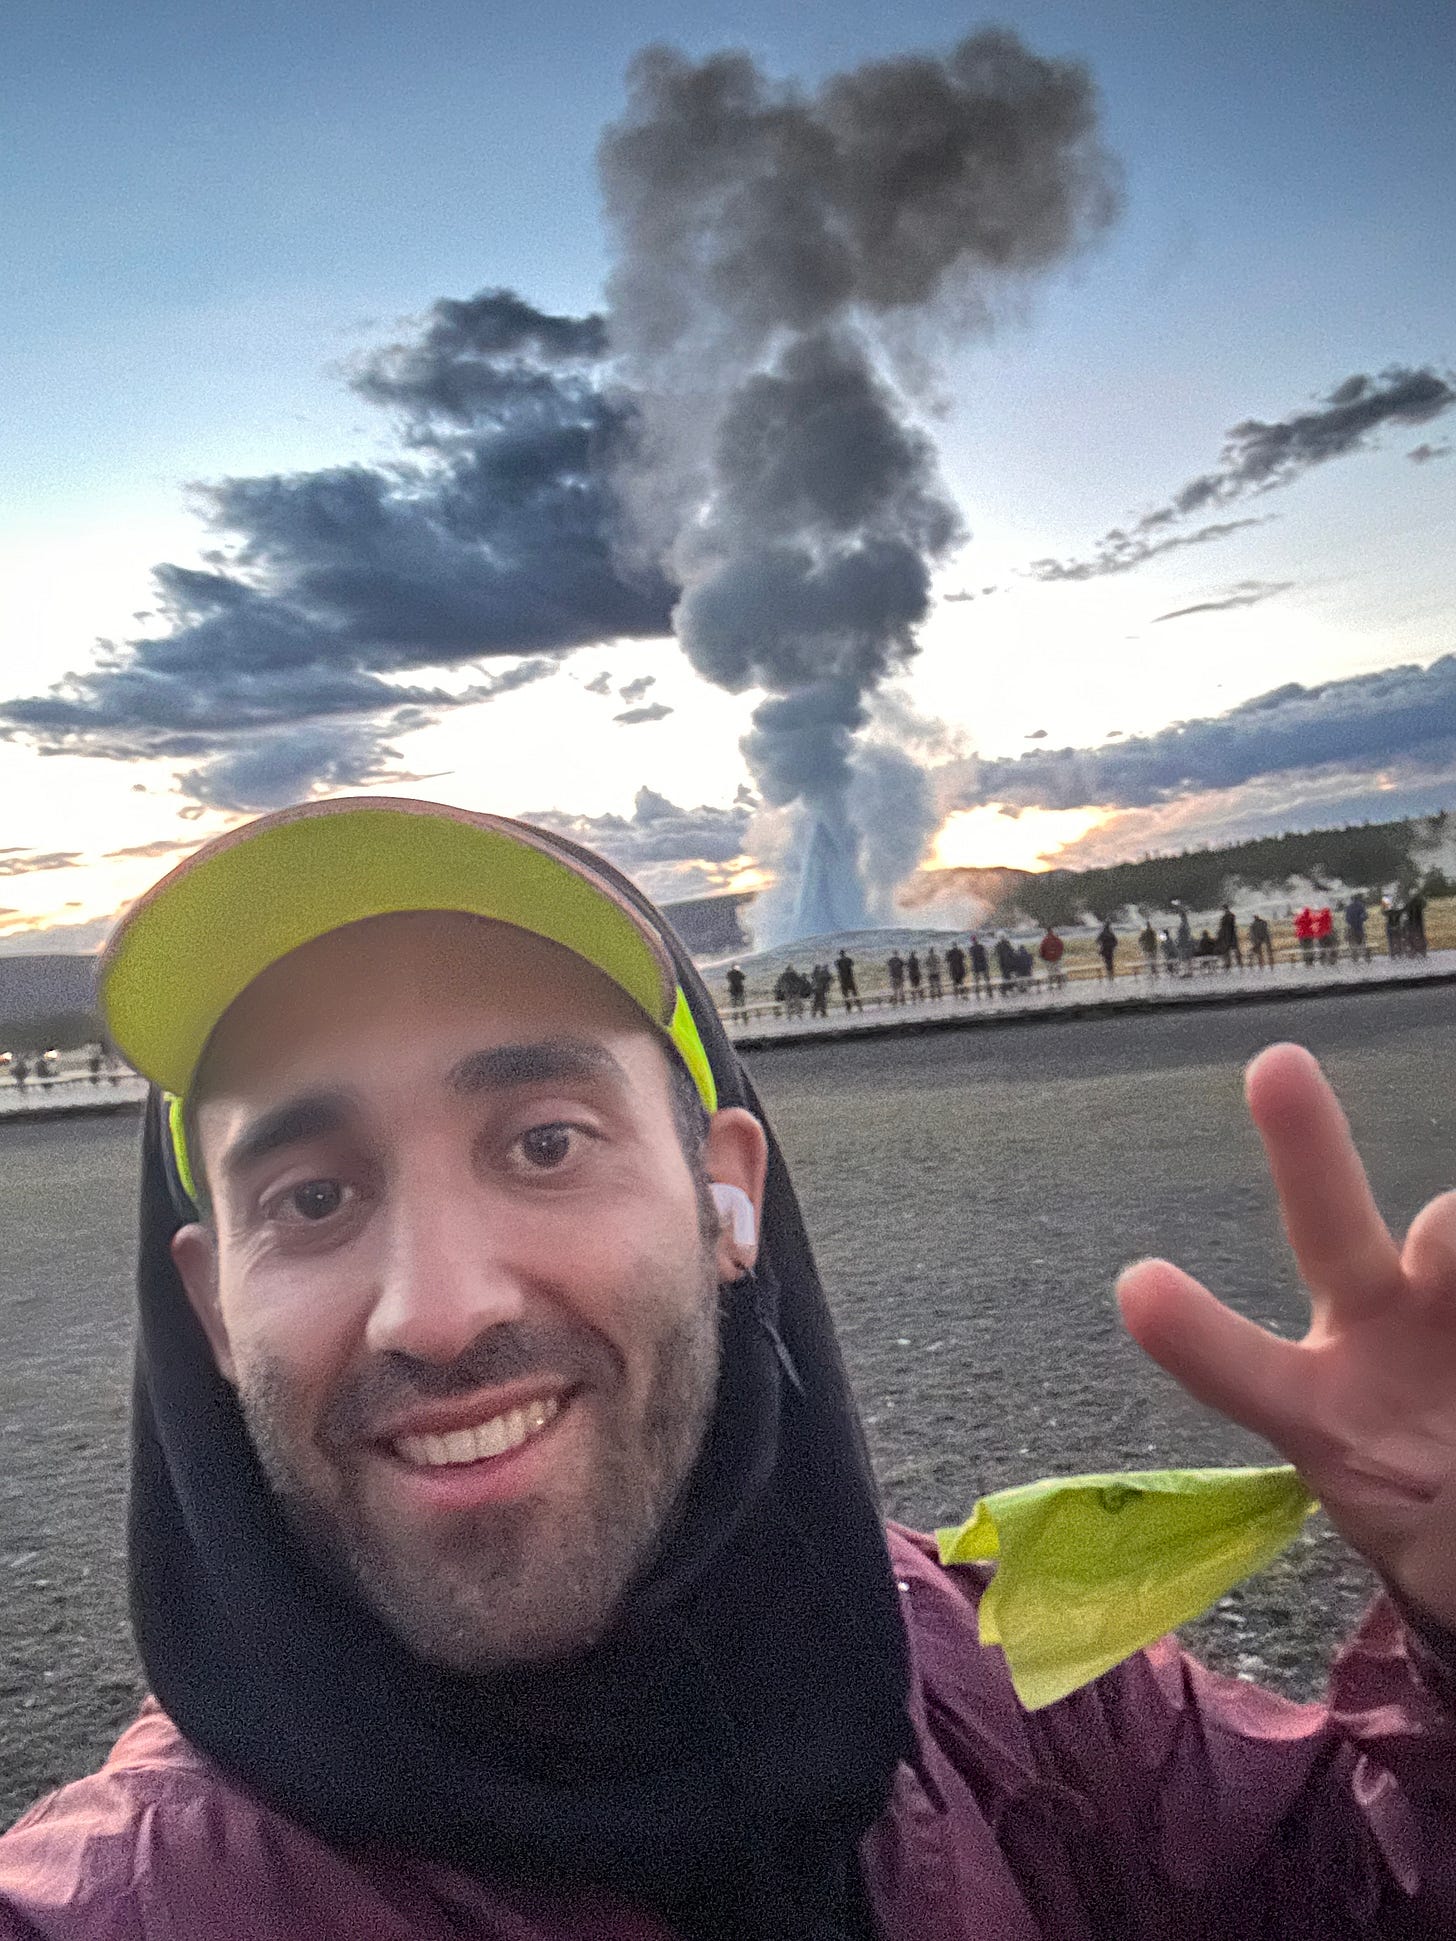
Welcome back dear readers! Last time we talked, I was in New Jersey reviewing the illustrious Bendix Diner. Fast forward to now, and I am FINALLY back in Oakland, California after more than two months on the East Coast. A whole lot happened along the way, including an epic road trip with my dear friend Blobbie that began in Detroit and wound up through Wisconsin before crossing through the Badlands of South Dakota into the towering peaks and frothy boiling springs of Yellowstone National Park.
It was here in the rugged mountains of Wyoming that I would finally find time to work on my latest report.
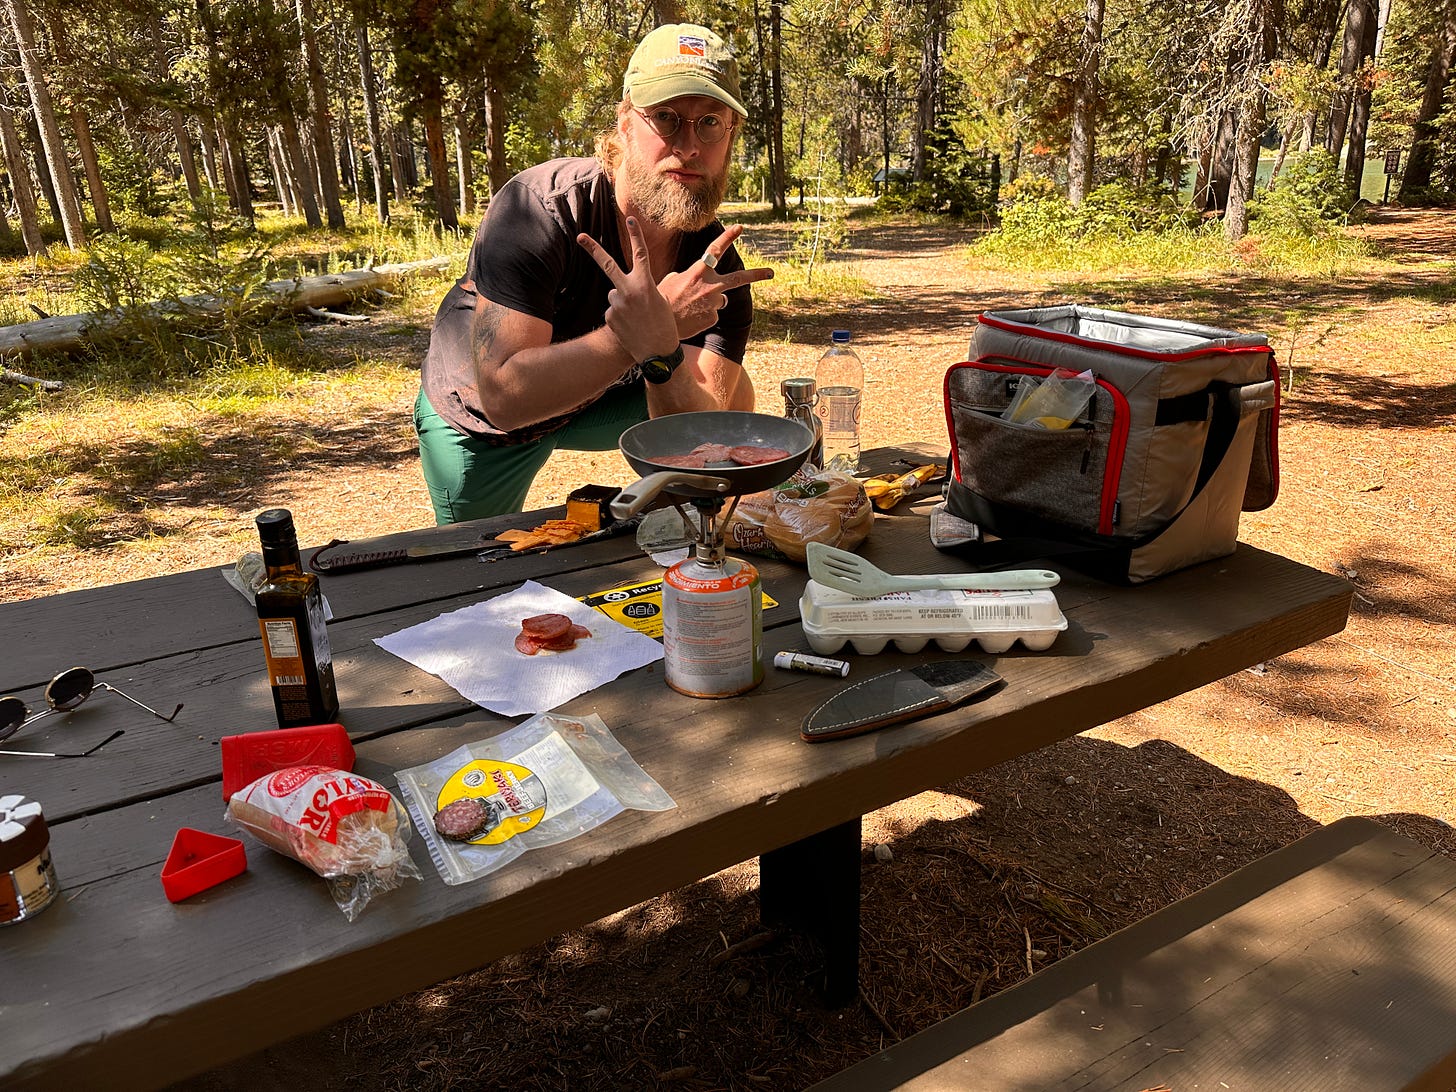
Because there is hardly any good food between Detroit and Wyoming, we decided the best thing to do would be to cook for ourselves. In my possession was a little jet boiler, a very small non-stick pan, a rubber spatula, and a bottle of garlic-infused olive oil - a gift from my mother for the journey. That’s pretty much all we had, aside from a soft cooler and a knife. But as you will see, it was more than enough.
Driving towards Yellowstone on highway 14 in Wyoming, we pulled off at a Safeway to acquire some provisions. Roaming the charcuterie section, I was flabbergasted to discover that this store sells my beloved Taylor Ham!!! All the way out here in Wyoming.
I was shocked. You can’t even find this stuff in Pennsylvania, and yet here it was, just sitting there on the shelf in this remote corner of the Rocky Mountains, waiting for a Jersey Boy to come along and recognize its value.
If you’re new to the blog and don’t know what Taylor Ham is, it’s a breakfast meat of extreme cultural importance in New Jersey. My review of Bagel Station is a good primer on the topic.
On the way out of the grocery store, I couldn’t help but gush with excitement to the cashier.
“DO YOU KNOW HOW HARD IT IS TO FIND THIS STUFF OUTSIDE OF NEW JERSEY?” I squawked.
The kind slow-talking woman behind the register smiled and said “Hmmmm. Taylor ham. Never tried it myself. Now I’ll have to. Glad you can have a little taste of home here in Wyoming.”
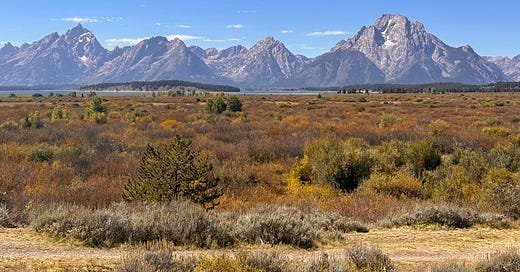
A couple of days later, after traversing the bubbling mud pots, boiling geysers, and sociable buffalo of Yellowstone, we headed south on the 191 towards Grand Teton National Park. If you don’t already know, that means “big titties” in French. Bless those horny French settlers for naming it that.
We arrived at a picnic area on the shore of Jenny Lake around 1pm, just in time for a late breakfast. Our setup was sparse, but I had just enough equipment and ingredients to make it work.
And it’s your lucky day, because I am about to share my secret recipe for a quick, easy and delicious campsite breakfast sandwich.
Ingredients:
Eggs
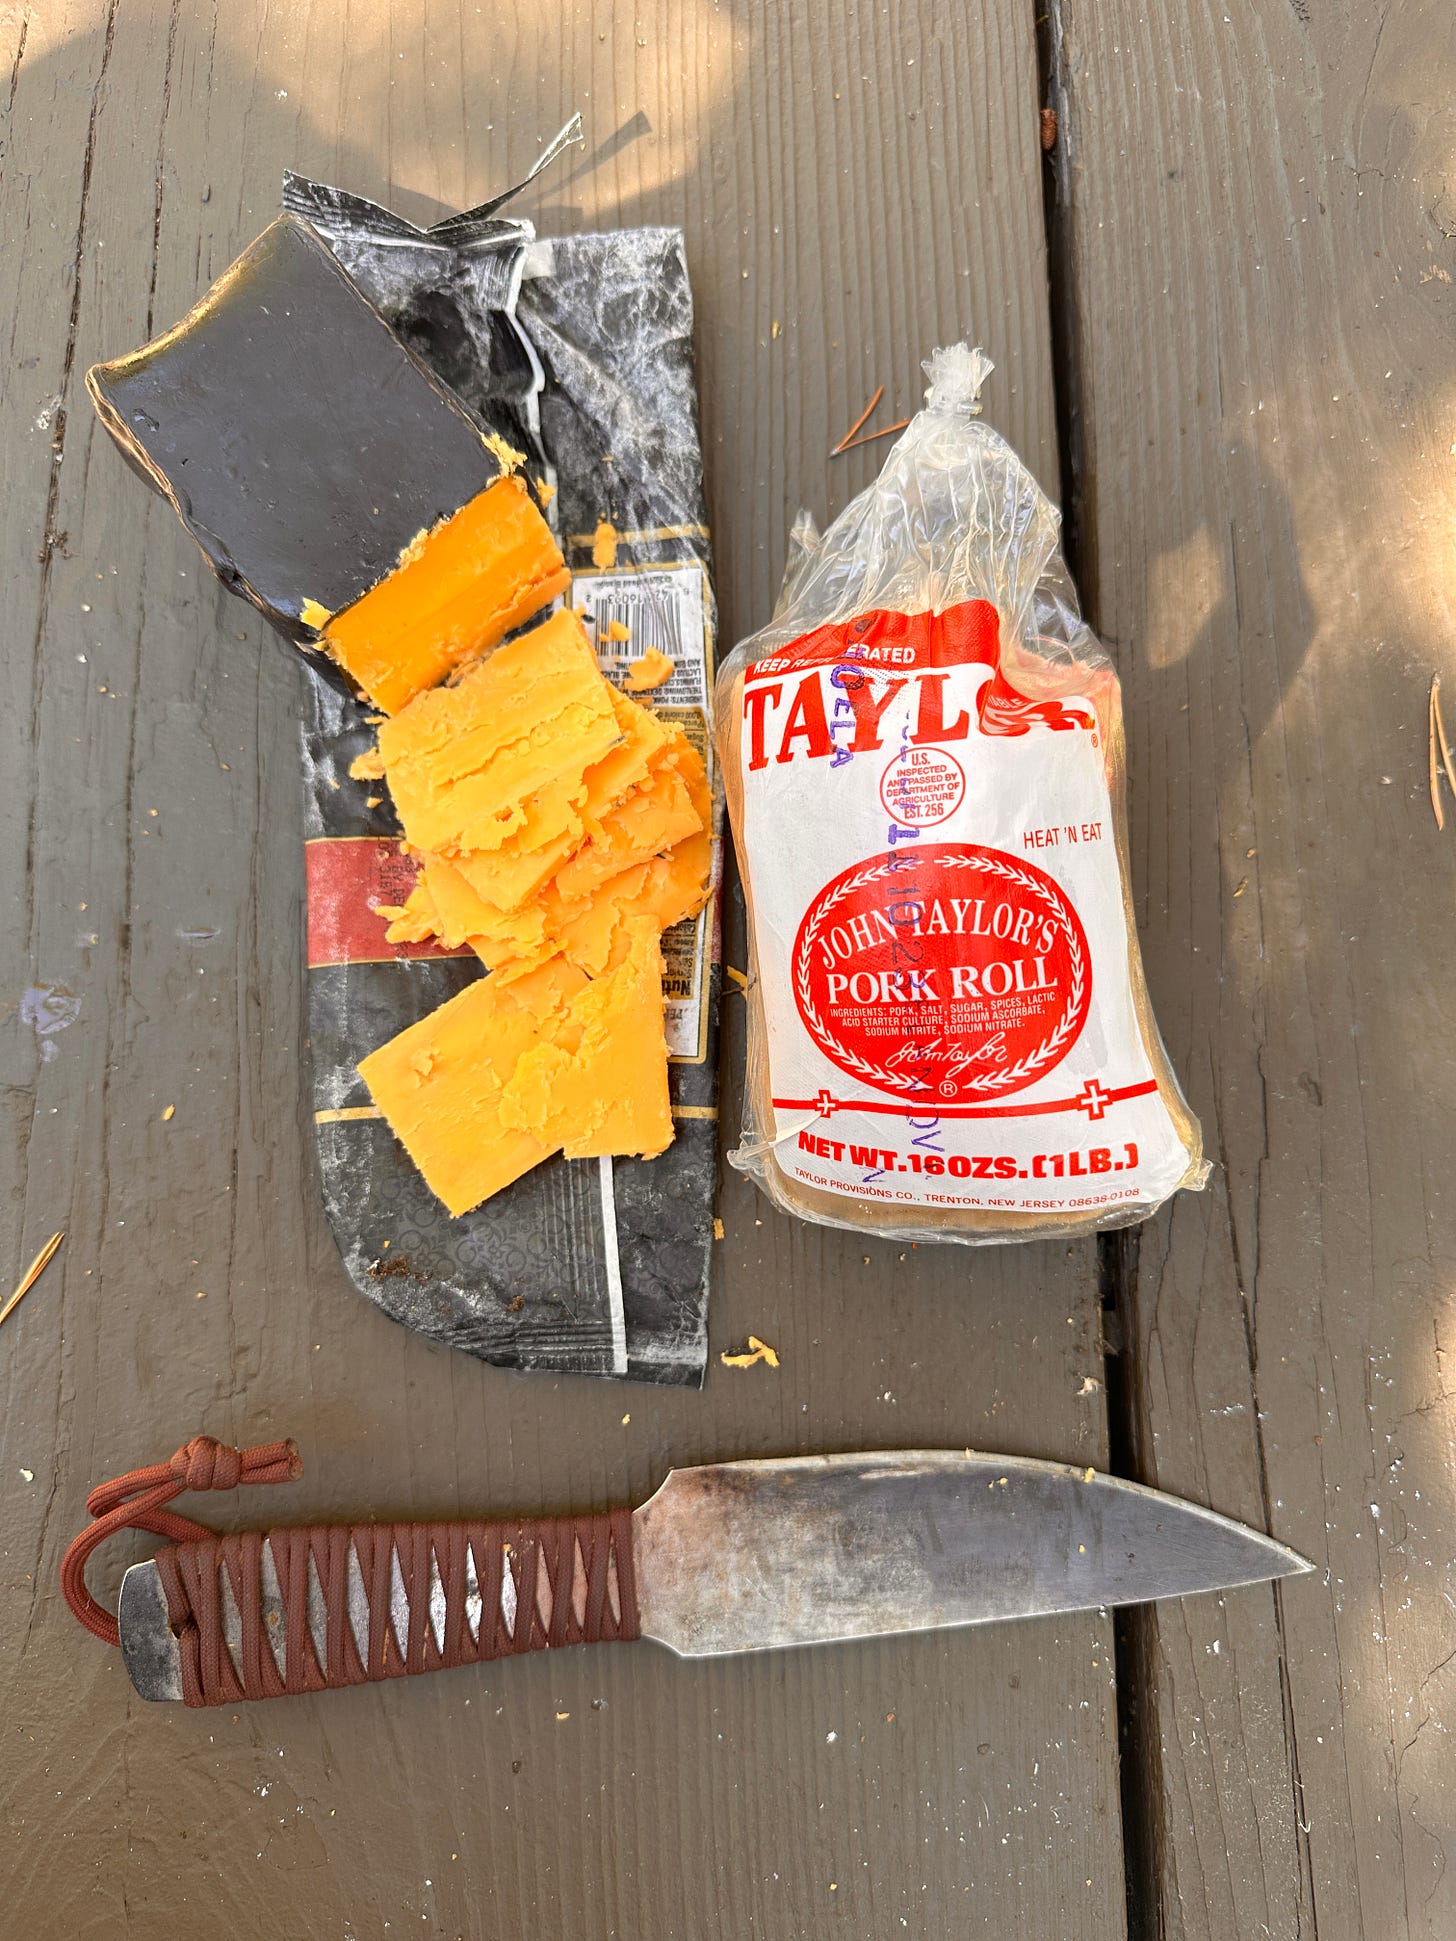
Cheddar or American cheese - Luckily I was in possession of an exquisite block of 6-year aged cheddar I had picked up in Wisconsin.
Taylor Ham - Bacon will do fine if you can’t find T.H.
Hamburger buns - This may come as a surprising choice, but hamburger buns are the best option for campsite b-fast sammies because they are widely available, and more importantly, they are soft, which is desirable in an egg sandwich. English muffins can be a nice alternative.
Butter or olive oil - Butter is better, but olive oil is so much easier to travel with. (It goes without saying that canola, corn or any other vegetable oil is completely out of the question).
Ketchup or hot sauce - We had a couple of packets stashed away from a fast food meal.
Steps:
Slice your Taylor ham into round discs about 1/8” thick. If you’re bad at math, that’s about the thickness of a standard piece of cardboard. If using pre-sliced Taylor ham, it’s a good idea to make one or two slices from the center out. Like cutting slits in a hot dog, it allows the ham to cook evenly without bubbling. I was using uncut T-ham, which is smaller in diameter, so this step was unnecessary. Cook on medium-high with just a little bit of fat in the pan.
While the ham is cooking, slice your cheese.
Cook the ham 3-4 mins on each side until the center starts to blacken. Then remove your cooked T-ham and let it rest on a paper towel or piece of cardboard. I like to keep spare pieces of cardboard in my car on road trips, they come in handy for plates, cutting boards, starting campfires, and soaking up the oil from your breakfast meats.
Turn the burner down to medium heat and crack 2 eggs into your non-stick pan. Most campers use cast iron, which is great for many things like cooking on an open flame. But after much experimentation, I can confidently report that non-stick pans of the ceramic variety are not only lighter and more packable, but much better for campsite cooking (and cleaning up).
Break the yolks. This step is crucial. No one wants hot yolk squirting all over their face.
Add salt and pepper, then cook the eggs 4-5 minutes without flipping them like so.
When the edges start to crisp up and bubbles appear in the whites, fold the entire thing in half, omelette-style. You will be tempted to separate the eggs and flip them individually. That’s fine. But this is MY recipe that I’ve honed over many years of camping, so please trust the process. There’s a reason we’re doing it like this.
Place several slices of cheese on top of your now-folded eggs. Then layer your Taylor ham on top of the cheese like so.
Turn the heat to its lowest setting, and allow everything cook just long enough for the warm Taylor ham to melt the cheese. If you have a lid for your pan, put it on now.
Using your spatula, split the folded eggs into 2 perfect triangles. This is the reason we folded the eggs omelette-style instead of flipping them individually. It’s the perfect way to make breakfast for two. The technique works best with small pans.
(Optional) Toast your buns. I did not, because I was hungry and impatient.
Transfer the assembled T.E.C. to your bun and add ketchup or hot sauce to taste. Then (if you have enough willpower) let the sandwich rest for about a minute, to allow the steam from the eggs to warm and soften your bun.
Serve and enjoy.
If you followed the directions, the eggs will be a tiny bit crispy on the outside, but the yolks will still be soft and runny on the inside. If you decide to cook your eggs in the classic over-easy fashion, the same effect can be achieved by breaking the yolks and not overcooking them post-flip.
As you can see in this photo, I achieved the ideal level of yolk runny-ness with my technique. The only improvement on this particular sandwich is that the cheese could have been meltier. A lid would have achieved this nicely. But with an aged Wisconsin cheddar, it’s hard to complain.
Now that you know how the pros do it, try it at home or impress your fiends on your next camping trip. And let me know how it tastes ;)
West Coast: 10
East Coast: 7.5 (I’m deducting points from myself for using an untoasted hamburger bun and having less than perfectly melted cheese).
Next week, we’ll return to our originally schedule programming, which includes some new reviews of Bay Area restaurants, and a couple more highlights from the very best spots I enjoyed in New Jersey this summer. Thanks for reading, and please subscribe and share with your friends!


